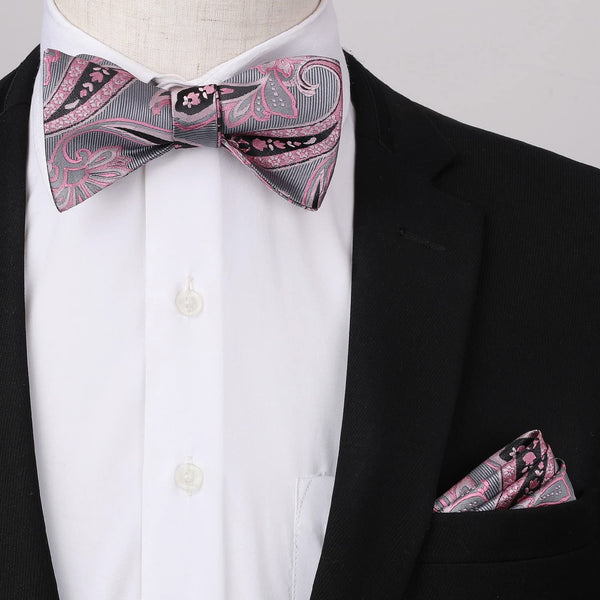
How To Iron Shirts Like A Boss
Wrinkled clothing = NO attention to details. If you fail at the little tasks… how can you be trusted with the BIG ones? So this means knowing how to IRON your shirts (you can't have them dry cleaned all the time).
Isn't it hard and tedious?Nope – refer the article & video below for the steps to properly iron a shirt.
Ironing Your Shirt Properly: The Benefits
If you really care about being well-dressed, you must learn how to iron your own shirts.
Ironing affects clothing the way a protein shake affects your body after hitting the gym. It targets the fibers in the wrinkly fabric – and straightens them out by loosening the chemical bonds.
That process requires both the heat of the iron and the weight of its soleplate (the underside). Soon after, the shirt returns to its original form.
Although some say this can also be achieved through steaming (which takes less effort) the truth is there's nothing better than the crisp pressing that only a hot iron will provide.
If getting a nice, wrinkle-free shirt doesn't convince you that ironing matters – here's the bigger picture:
Your shirts will last longer. By ironing your shirt instead of having it dry cleaned – you can focus the washing/cleaning part on the areas that need it more (cuffs and collar) while you work lightly on other parts (sleeves and body). This kind of adjustment may add extra years to the shirt's lifespan.
You'll get significant savings. Even if you pay a cheap rate of $1 per shirt for dry cleaning, you can expect to spend $240 a year (since 1 shirt x 20 work days = 20 shirts serviced each month). But you won't go anywhere near that amount if you do your own ironing.
You control the outcome. Whenever you need a crisp dress shirt
-
A Clean Iron

The base plate has to be free of rust or sediment. If you’re not sure about this, try using the iron on an old white cloth to see if it leaves any stains.
If there is some sediment buildup – run a solution of distilled water and 50% vinegar through the steamer function to clean it out.
-
A Freshly Laundered Shirt
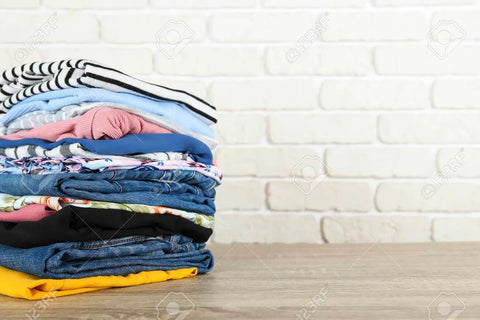
Self-explanatory. If your clean shirt has gone through the dryer, remember to remove it once the buzzer goes off so that fewer wrinkles are formed.
Take note also of your shirt fabric type (referring to the care tag that's often located inside the collar). That tag should also have an iron symbol. It states whether or not the shirt can be ironed (based on the number of dots) to begin with.
One dot – it's a synthetic shirt. Heat should be in the low settings (175-230 degrees).
Two dots – it's a silk or wool shirt. It would need medium settings (250-300 degrees).
Three dots – it's a linen or cotton shirt. It requires 320-400 degrees to return to form. These materials are also the only ones that should receive any steam (unless you see an X through the steam symbol). So you'll need some distilled water for these cases.
Note: if your shirt has removable collar stays, never forget to take them out before you start ironing.
-
A Clean Standard Ironing Board

It's technically optional – but an ironing board does make the whole thing a lot easier than a desk or table (which has to be covered with a towel) would. You don't need the specialty kind. Those large common boards in the department store will do just fine.
-
Distilled Water
Water is used to reset the fabric to a repressed, unwrinkled state – and reduce the risk of the hot iron burning the fabric.
Begin at the edges of the back of the collar – ironing towards the middle. It's important that you go in this direction. Starting from the middle might cause the fabric to gain visible creases near the collar points.
Ironing Shirt: Step #2 – The Cuffs
First, iron the inside of the cuffs to remove the main creases – again moving from the edges towards the middle. Finish off by ironing the outside area using the same method. Iron gently around the buttons to avoid damaging them.