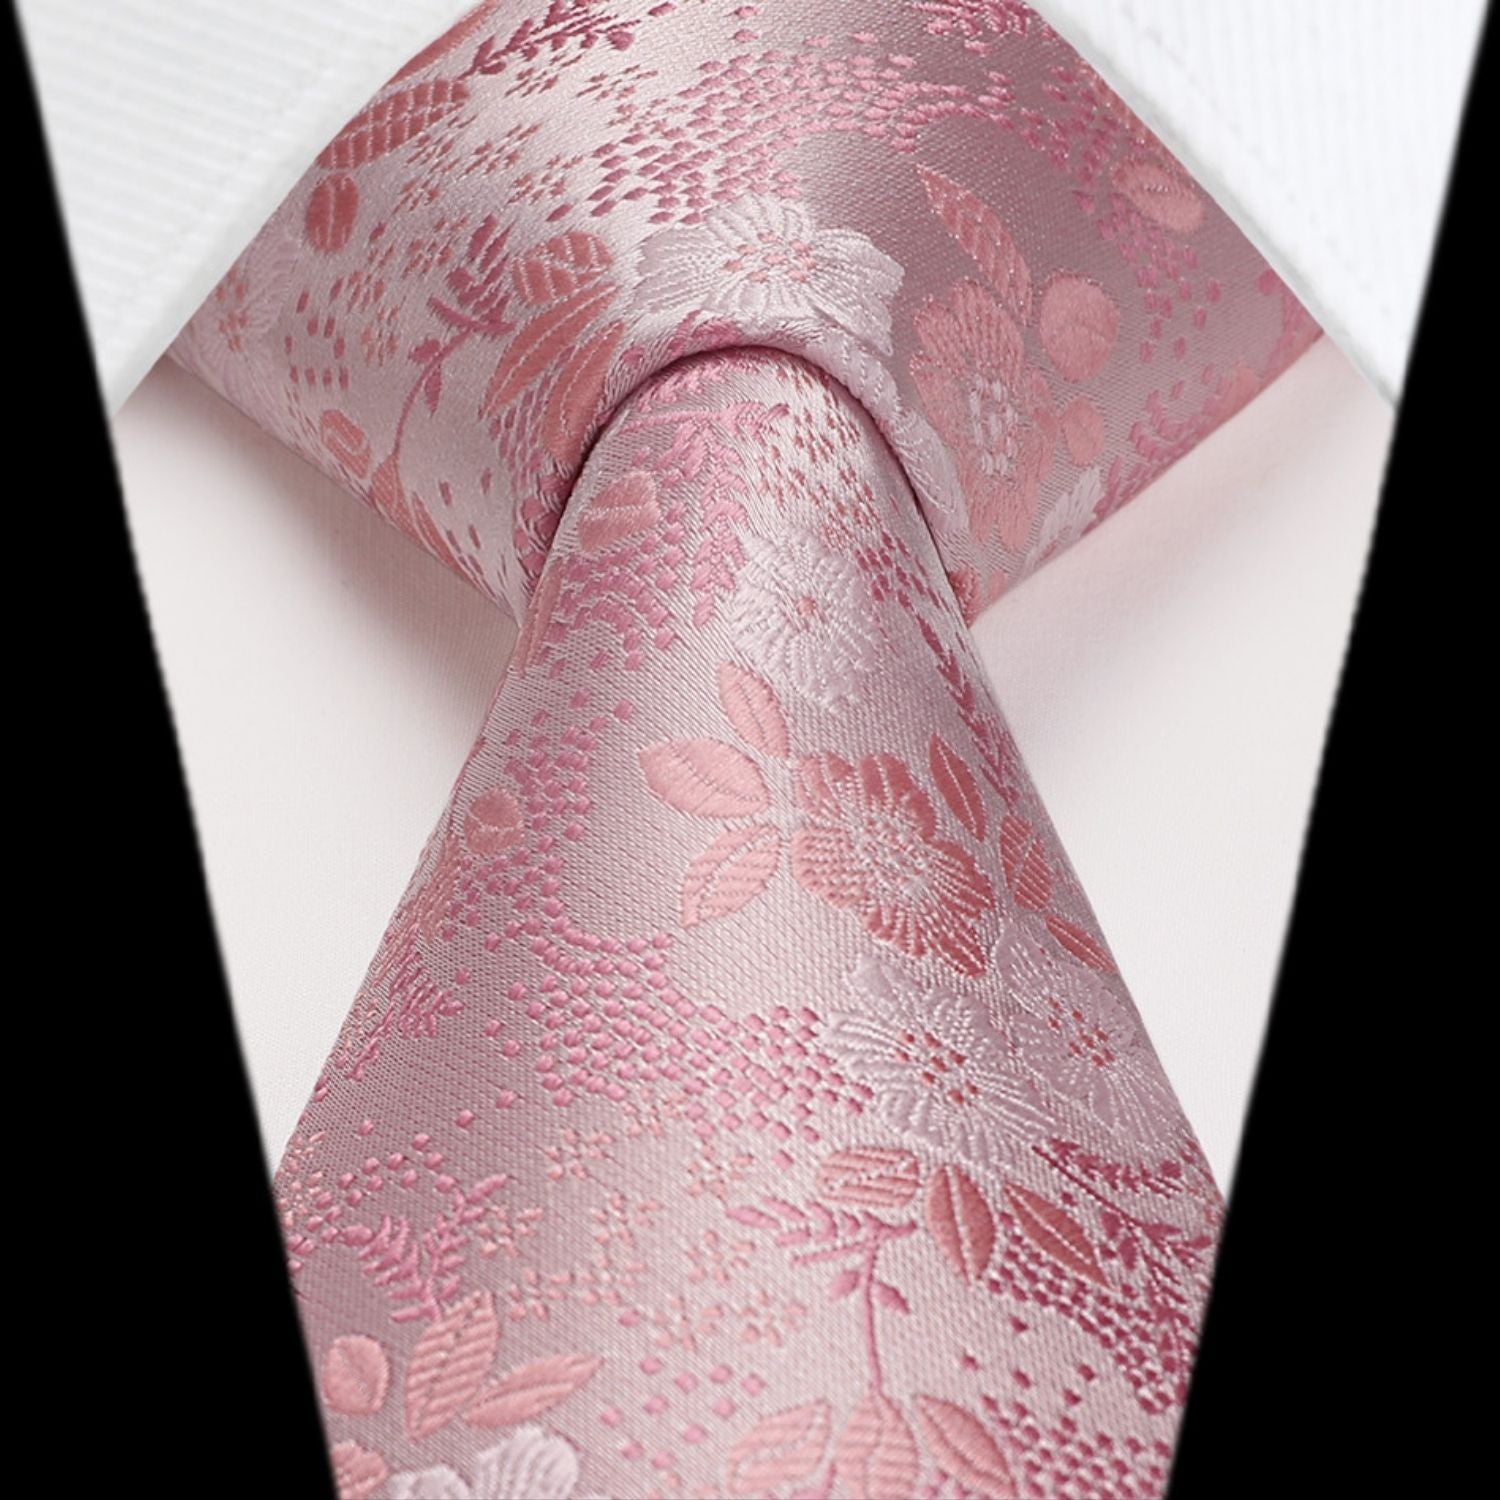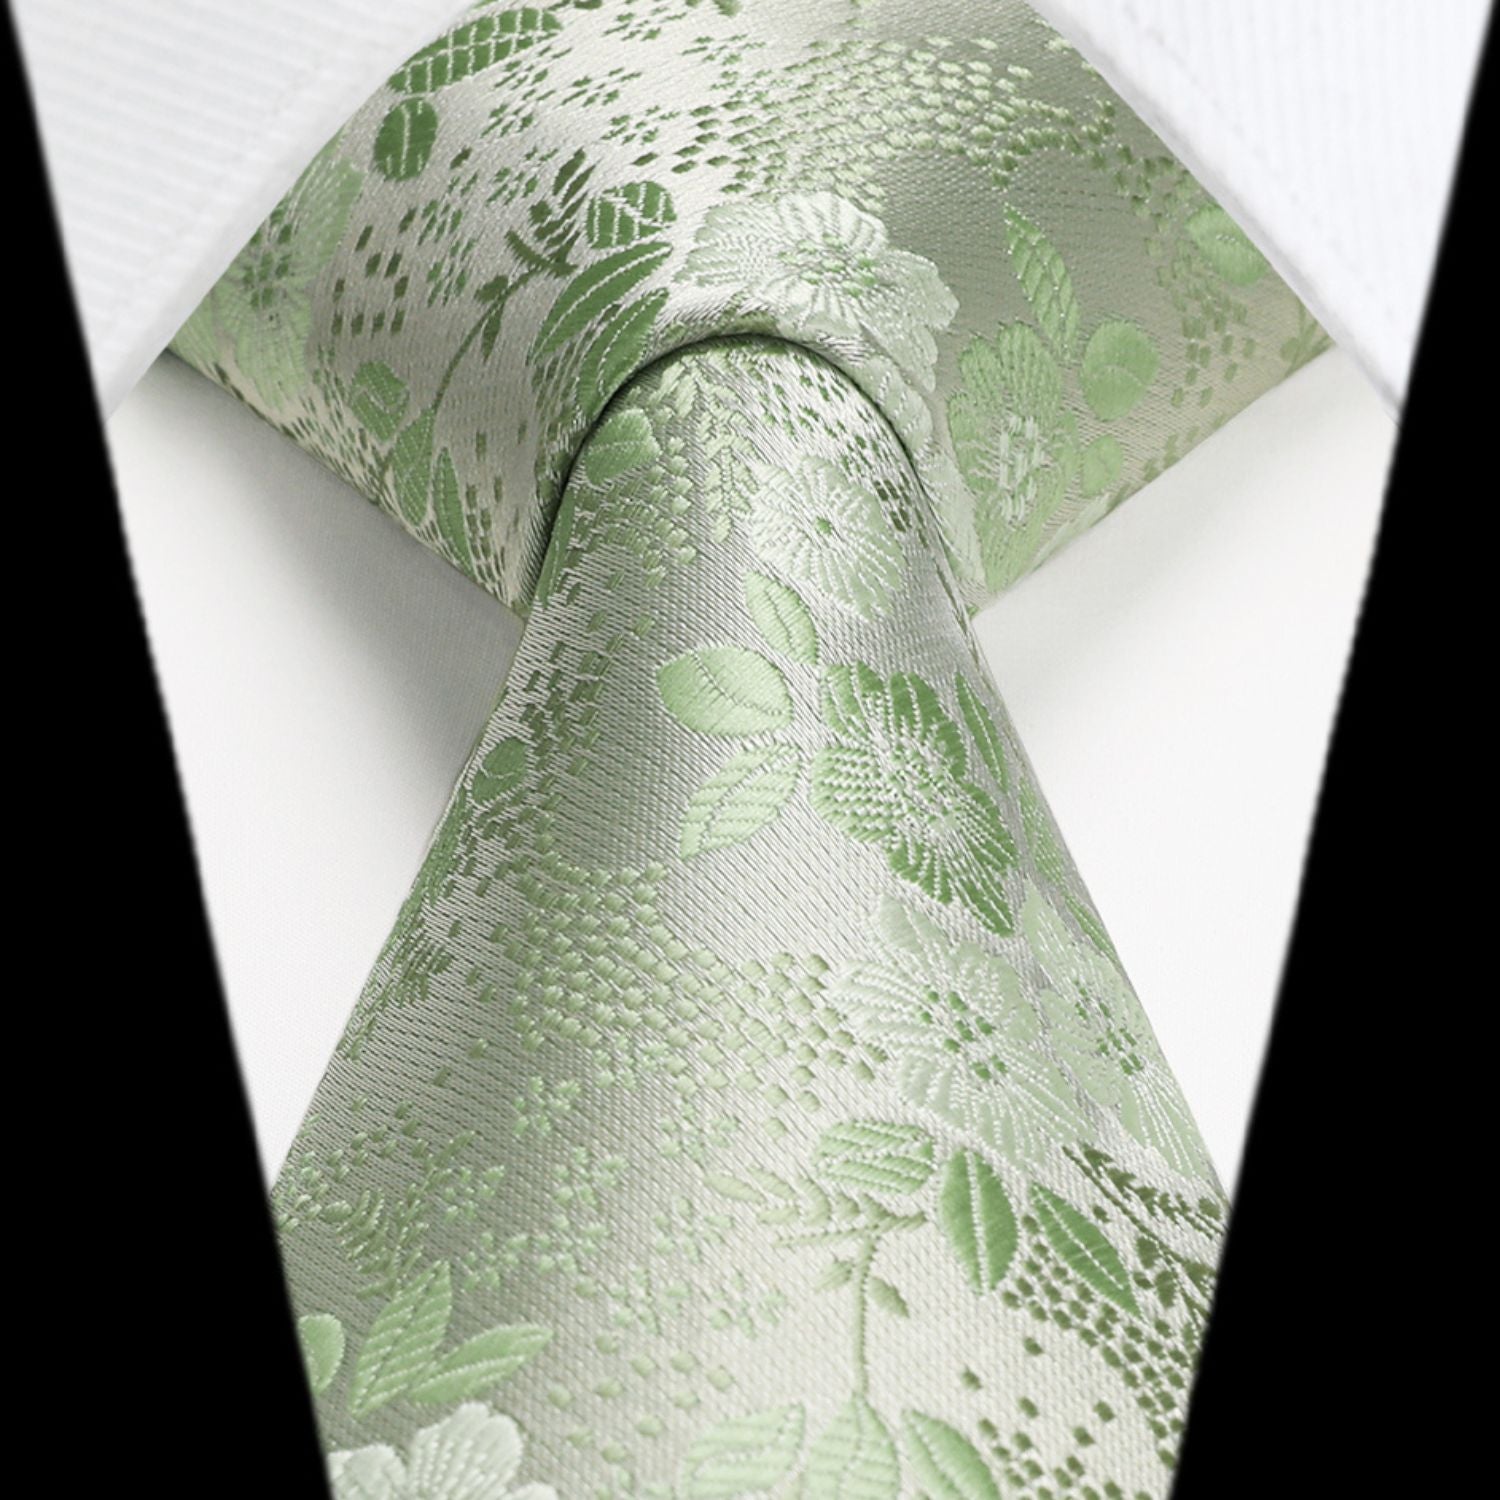


How to Tie a Hisdern Necktie

15 Different Type of Tie Knots with Instructions

Learning how to tie a tie is a rite of passage for every gentleman. And if you're an aspiring well-dressed gentleman, it's certainly more important! In this guide, we'll show you the 15 ways to tie a tie and the advantages of each method!
Four In Hand Knot

Video: https://tinyurl.com/5n6z9ckz
1. Tie the tie around your neck and position it so that the end of the narrow edge is just above your belly button.
2. Pass the wide end over the narrow end.
3. Wrap the wide end under the narrow end.
4. Pass the wide end through the front of the narrow end.
5. Move the wide end upward from below into the neck ring.
6. Pass the wide end down through the loop you just created in front of it.
7. Pull down the wide end to tighten the knot. Slide the knot up and adjust for a perfect fit.
Half Windsor Knot

Video: https://tinyurl.com/y23yt9md
1. Start with the wide end of the tie on the left and the narrow end on the right.
2. The wide end should be longer than the narrow.
3. Cross the wide end horizontally in front of the narrow end to make an X.
4. Take the wide end around and behind the narrow end.
5. Carry the wide end over and through the opening near your neck.
6. Wrap the wide end across the front of the narrow end
7. Pull the wide end under and through the neck opening. Pull the wide end of the knot through the loop formed in the front.
8. Tighten the knot by pulling down on the wide end.
Windsor knot

Video: http://tiny.cc/ra3zuz
1. Cross the thicker side of the tie over the skinnier side.
2. Bring the thick side of the tie up and under the collar, then back down over the collar, without moving to the other shoulder. You’ll still be on the side of the shoulder opposite your starting shoulder.
3. Move the tie behind the knot, going back across toward your starting shoulder.
4. Go up and over the collar on this side of the knot now, going back down the under the collar while still staying on the starting shoulder side.
5. Bring the tie horizontally across the front of the knot, moving to your opposite shoulder again.
6. Take the tie up under the knot and then back down the front of the knot through the loop of fabric you just made in the front of the knot.
7. Tighten and straighten your elegant Windsor knot.
Nicky Knot

1. Begin with the wide end on your right and the seam facing out.
2. Cross the narrow end over the wide end.
3. Bring the wide end into the neck loop.
4. Take it out of the loop on the right side.
5. Bring the wide end around the front and under the neck loop.
6. Take it down and through the band made in Step 5.
7. Pull gently on the wide end to take it through the loop.
8. Tighten and adjust.
Onassis Knot

Video: http://tiny.cc/ta3zuz
1. Cross the thicker side of the tie over the skinnier side, bringing it to the opposite shoulder.
2. Take the thicker side of the tie back under the thinner side.
3. Bring the tie back over the top of the cross-section, taking it back to the opposite shoulder again.
4. Pull the thicker side of the tie up under the collar, then back down through the top loop of the knot.
5. Tighten the knot. Now, take the front flap of the tie, take it around and under the knot and pull the end of the tie up under the collar and then back down and over. The knot will now be covered and the tie will have a bit of a cravat-like look.
Kelvin Knot

1. Begin with the wide end on your right with the seam exposed.
2. Take the wide end under the narrow end to the left.
3. Bring it in front of the narrow end to the right.
4. Take it behind the narrow end to the left.
5. Bring it in front of the narrow end to the right.
6. Take it up into the neck loop from underneath.
7. Pull the wide end down through the loop made in Step 6.
8. Gently pull on the wide end to tighten. Slide the knot up and adjust.
Pratt Knot

1. Start with an inverted tie, where the underside of the tie is facing outward.
2. Cross the thinner side of the tie over the thicker side, taking the thicker side of the to the opposite shoulder.
3. Bring the thick side of the tie up and over the collar, then back down and under the collar. Stay on the side next to the cross-section you just created, rather than crossing back over to your starting shoulder (as you would in many other types of tie knots).
4. Take the tie back to the opposite shoulder, going horizontally across the top of the knot.
5. Bring the tie up under the collar, then back down and through the top loop of the tie knot.
6. Tighten and straighten the pratt knot to complete your look.
St Andrew Knot

1. Start with the tie inverted so that the underside (the “bad side”) is facing outward.
2. Cross the thinner side over the thicker side, taking the ticker side to your opposite shoulder.
3. Bring the thick side of the tie back to the starting shoulder, going horizontally across the cross section you just made.
4. Take the tie back to the opposite shoulder, going horizontally under the knot to get across.
5. Take the tie up and over the collar, then down and through, moving across the knot to take the tie back to the starting shoulder side.
6. Go across the front of the knot again, taking the tie to the opposite shoulder.
7. Take the tie up and under the collar again, then back down and through the knot, threading the tie through the top loop of the knot.
8. Tighten and straighten to perfect your look and finish the St. Andrew knot.
Balthus Knot

1. Place the tie around your neck with the back side of the tie facing outward.
2. Criss-cross the two ends of the tie together, bringing the skinnier end over the top of the thicker part of the tie.
3. Bring the thick side of the tie up over the neck loop and bring it back down again under the collar, or neck loop, pulling it through the collar and crossing under to the other side.
4. Pull the tie over and through the collar again, bringing it across to the opposite side.
5. Repeat, going through the collar and over to the other side again.
6. Pull the tie across the front and then behind the knot, bringing the end of the tie up and over the back side of the knot.
7. Place the end of the tie through the loop you created in the step above.
8. Pull the tie down through the knot and tighten.
Hanover Knot

Video: http://tiny.cc/ua3zuz
1. Start with this tie around your neck so that the underside (the backside) is facing outward.
2. Cross the thicker side under the thinner one, taking it to the opposite shoulder.
3. Bring it back over the top of the cross-section, holding it horizontally to the starting shoulder.
4. Bring the tie up and under the collar, then back down over the top of the knot, taking the tie across to the second shoulder.
5. Wrap the tie under the knot, taking it horizontally back to the starting shoulder.
6. Take the tie up and under the collar again, then back down under the knot, moving to the opposite side.
7. Take the tie horizontally across the top of the knot again.
8. Bring the tie up and under the collar, then back down and through the top loop of the knot.
9. Tighten and adjust.
Plattsburgh knot

1. Start with an inverted tie, meaning that the underside will be facing out.
2. Cross the thick side of the tie under the thinner side, bringing it toward the opposite shoulder.
3. Take the tie up over the collar, then under the knot to bring the tie down and back to the starting shoulder.
4. Take the tie back up over the collar, then down and under the collar to bring the tie back to the opposite side again.
5. Return the tie back to your starting shoulder, going horizontally across the front of the knot.
6. Bring the tie back up and under the collar, then back down again through the top loop of the knot.
7. Tighten and straighten your Plattsburgh knot.
Grantchester Knot

1. Begin with the wide end on your right with the seam facing out. Start with it 10-12 cm (4-5 inches) lower than your planned finishing position.
2. Bring the wide end under the narrow end to the left.
3. Take the wide end in front of the narrow end to the right.
4. Take the wide end behind the narrow end to the left.
5. Wrap it across the front to the right. Use a finger to hold the band in place.
6. Bring the wide end under the neck loop from the right.
7. Take the wide end down in front to the left.
8. Take it around the narrow end from behind to the right.
9. Wrap the wide end around the front of the knot to the left. Use a finger to hold the band.
10. Take the wide end through the neck loop from behind and down through the band made in Step 9.
11. Pull down and adjust to an even shape.
Victoria Knot

Video: http://tiny.cc/ya3zuz
1. Cross the thick side of the tie over the thinner side, moving it to the opposite shoulder from your starting shoulder.
2. Take the tie back across, this time going under the cross-section.
3. Go back across again, moving the tie once more to the opposite shoulder.
4. Take the tie under the knot again to return to your starting shoulder.
5. Go back over the top of the knot yet again, moving the tie to your opposite shoulder.
6. Now pull the tie up and under the collar, then back down and through the top
7. Loop of the knot. If you pull the tie through the top two loops, you’ll make the Prince Albert knot.
8. Tighten and straighten the knot.
Cape Knot

1. Bring the skinnier end of the tie over the front of the tie and then pull it under and over the collar.
2. Hold the tail of the tie out to the side, then wrap the end under the front of the tie.
3. Pull the tail up and over the collar, then back down and over the front of the tie again.
4. Pull the tail under and over the collar again.
5. Bring the tail end of the tie back under the tie, then over and under the collar.
6. Bring the tail through the last loop you just made at the back of the tie.
7. Tighten and straighten your tie. You will have three distinct, mostly vertical, knot sections.
Eldredge Knot

Video: http://tiny.cc/7b3zuz
1. Begin with the wide end on the left. The tip should rest at the top of your belt buckle.
2. Take the narrow end over the wide end to the left.
3. Pass the narrow end under the wide end to the right and up towards the neck loop.
4. Bring it down through the neck loop and to the left.
5. Take it across the front to the right. Then into the neck loop from underneath.
6. Bring it down to the left and around the back of the wide end to the right.
7. Take it across the front towards the left and through the loop made in Step 6.
8. Pull the narrow end up to the center to tighten.
9. Take it down through the neck loop to the left.
10. Take it up to the center, towards the neck loop and down through the neck loop to the right. Keep it loose.
11. Bring it across the front towards the left and through the loop made in Step 10.
12. Pull the narrow end towards the left to tighten.
13. Tuck the remainder of the narrow end behind the knot.